
Miniature photography for beginners part 3: Editing the photo

It’s never fun to start with a disclaimer but I feel I have to. You can do a lot with a photo but you can’t do everything. A lot of times I hear people say ”just fix it in the computer afterwards” and sure, some things can be fixed but a bad photo will usually stay a bad photo even with some ”fix”. This is even more true with a photo from a smartphone since it usually doesn’t contain the same amount of information as a photo from a DSLR shot in RAW-format.
What I want to say with this is that you should spend most of your time in the previous step, Taking the photo. Make sure your composition looks good, is lit properly, has the right exposure, is in focus and so on, and you will spend a minimal amount of time in this step.

The interface
Let’s start by having a look at the interface when in editing mode in the Lightroom App. You get here by opening up the app and choosing Lightroom at the bottom of the screen. Here you can see all the photos you have taken, simply press on the image you wish to edit. Now you should see the interface as here on the right. For some reason your phone has to be in the vertical mode to see this.
In the bottom there are five tabs, Presets, Crop, Edit, Masking and Heal. The last two are unavailable in the free version of the software and we will not use Presets at the moment. When you press Edit another menu will appear which has even more tools and we will get into this soon.
At the top you can see an icon with a clock and an arrow, once you start editing this will be an arrow turning back on itself, this is our undo and redo button which is very useful. When you press it you can choose either undo or redo but also version - which lets you go back to previous versions of the image, or reset - which lets you reset the image before any adjustments were made. Once you’ve made changes to the photo you can press on the image to see how it looked originally.
Crop the image
The first thing we need to do is to crop the image so press the Crop tab to the left of the Edit tab. Press the button with the stacked squares that says 4x3 and you will be presented with a number of different aspect ratios. What to choose here depends on where you plan on publishing the photo, what suits the image and basically what you like the most. 1x1, or a square, is a common format for images in social media, it takes up a lot of room on the screen and I think it works best when you only have a couple of miniatures in the shot or many miniatures but a single miniature in focus as your main subject. I usually go for 16x9 which is wider, feels bigger and it fits more stuff in the frame. This aspect ratio works better for battle lines and a bit bigger scenes, which is what I usually do. It also adds to the cinematic look of the image. So 16x9 is what we will choose for our image.

Once chosen a box will appear around the image and you simply drag this to fit the image. When you drag the boundaries of the box you will see the grid pattern for the rule of thirds, this can help your final composition. Basically the rule of thirds tells you to keep the interesting parts of the image where the lines intersect, or at least on the lines. This is because our eyes are naturally drawn to these parts of the image. For this picture I try to keep the battle line between the two middle lines so there are roughly equal parts background, middleground and foreground in the image. You might want to press the straighten button just to see what it does, it worked great for me. If you still think the image is crooked just drag across the circle beneath the image to rotate it. There are also controls for rotating the image 90 degrees clockwise and flipping it horizontal or vertical, but you probably won’t need these.
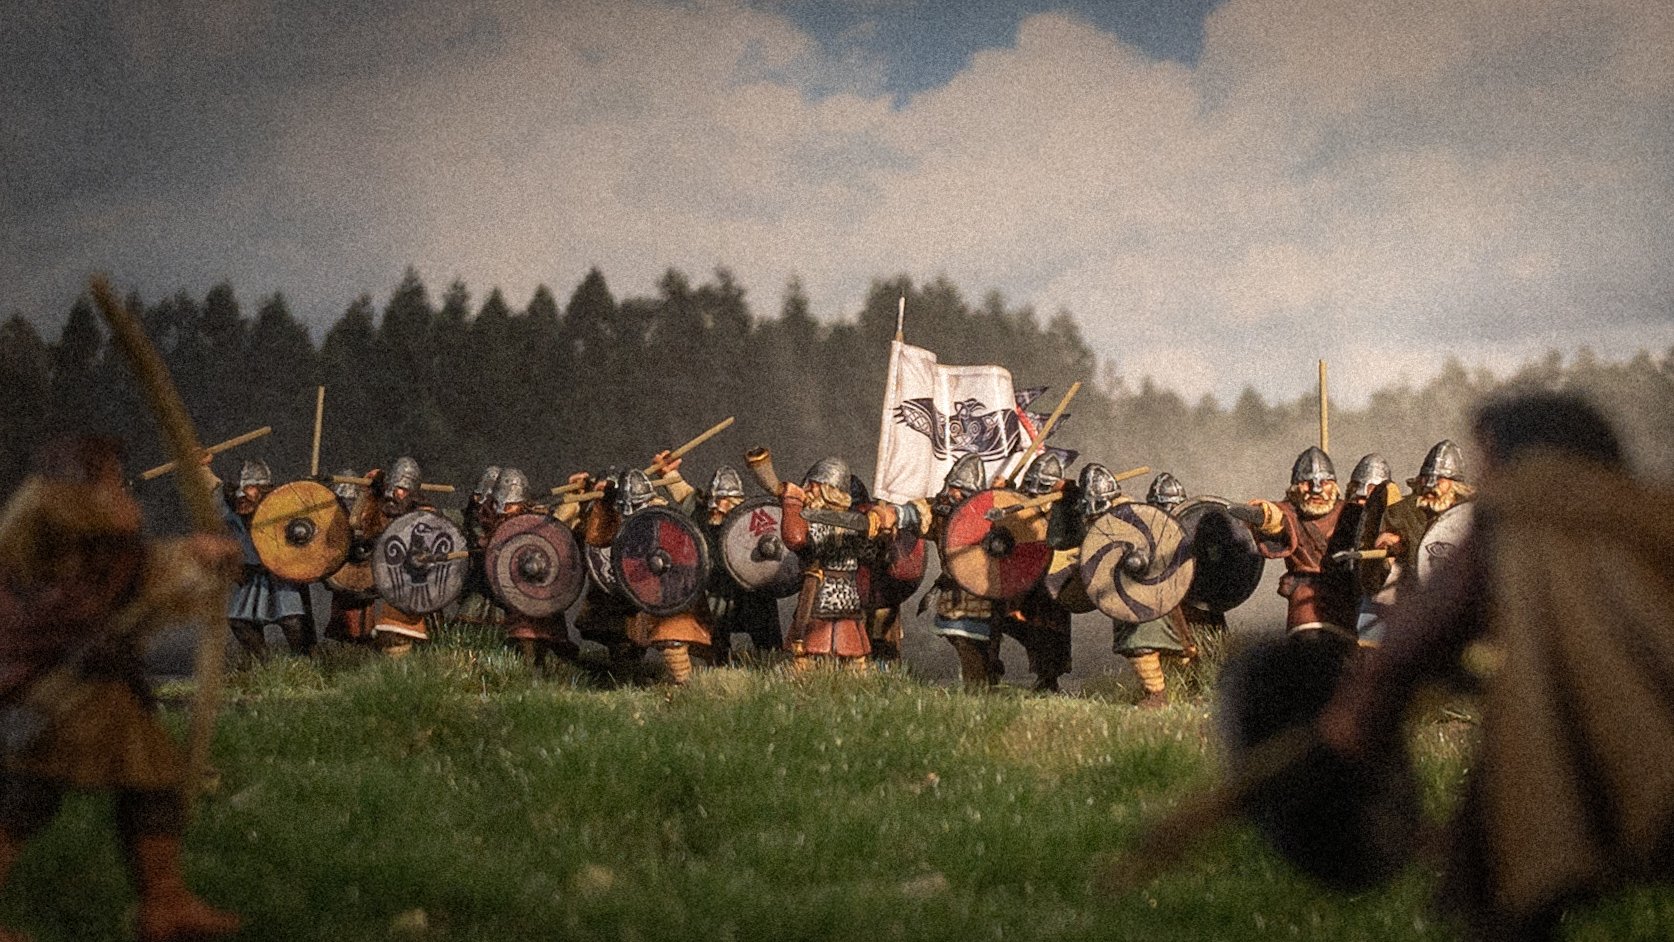
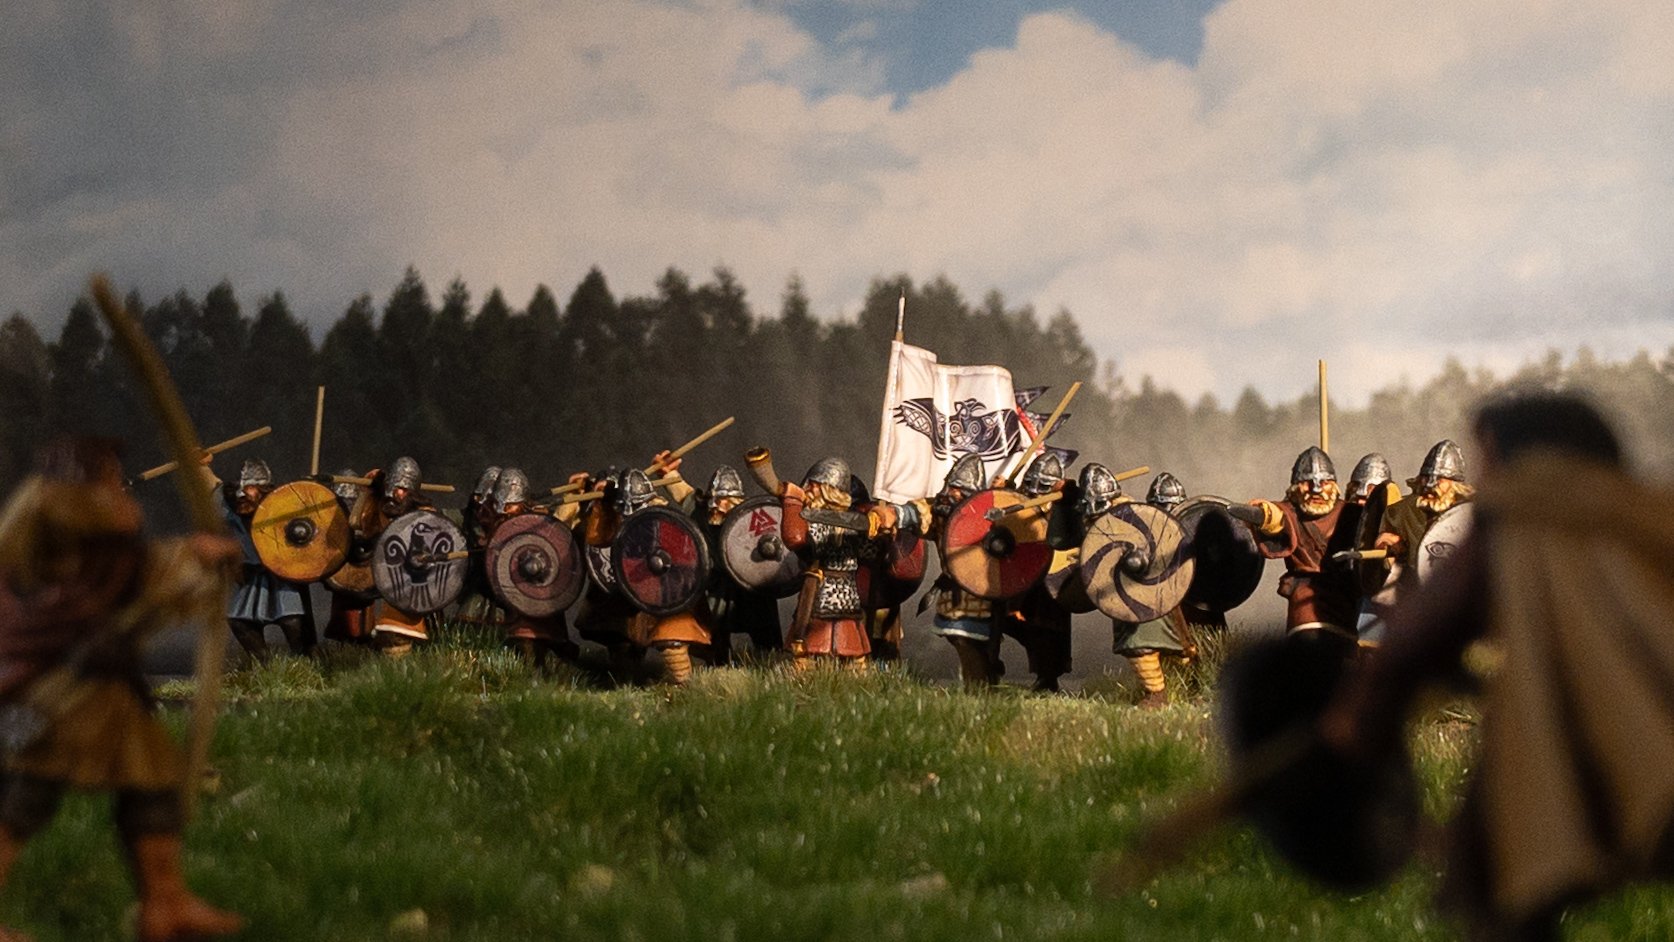
As you can see to the right here I crop in quite a lot on the original image to create my final composition.
Edit the image
Now it’s time for the actual editing. I usually start by pressing the auto-button just to see where that leads me. I’m usually not happy with what it does but it can give you a starting point. For this photo though we will do everything manually. I go through every menu from left to right and adjust as I see fit.
The first one is the Light tab where our main concern is exposure and contrast. One of the drawbacks of using a table light like we did is that it is a small light source which results in harsh and strong shadows on the miniatures which in most cases isn’t very realistic. So one of the things I will try to do is to make these shadows less harsh. I begin by increasing the exposure a bit, making the whole image a bit brighter, and then I lower the contrast which decreases the difference between the light and the dark parts of the image.
I then scroll down and increase the Shadow and Black values, this makes the darker parts lighter. You can clearly see in the images here below how much you can recover from what initially looks like a completely black shadow. Finally I’ll decrease both the light and white value just a bit to get rid of some of the harshness.

Next we’ll go to the Color tab and there is quite a lot here to get into, especially if you press the grading or color mix button. We’ll keep it quite basic here but if you would like to know more I can recommend this video about color grading in the Lightroom App.
The first thing to do is to check the temperature or white balance of the image. Since white balance was set on auto when we shot the image this should already be correct but you can adjust it if you would like. There is a drop down menu to the right, which should say “As shot”, where you can select between different colour temperatures. You can also use the eyedropper tool further to the right and select a part of the image, usually something white, to set the white balance against. You can also use the slider under “Temp” which makes the image cooler, more blue, or warmer, more yellow. I’ll keep my colour temperature set to “As shot” since I want a neutral image. Depending on how you set your white balance you might introduce a green or magenta colour to the image. This can be adjusted by sliding the “Tint” to the opposite colour of the tint in the image.
Finally we have the “Vibrance” and “Saturation” sliders, both of these adjust the intensity of the colours in the image. The difference is that Saturation affects the whole image while Vibrance only affects the least saturated parts of the image. How much or how little to use here is a matter of taste, I prefer to dial down the saturation a bit since I think it gives the image a bit more realism.
Next we’ll go to the Effects tab which has three different menus; Effects, Vignette and Grain. Under Effects there are three different sliders which all affect the contrast in the image in different ways. You can play around with these and see what they do but I usually leave them unchanged. Vignette does what it says; it creates a vignette. I quite like this effect as it creates focus to the image but you should be careful not to overdo it. You can add some now (and play around with the adjustments below) but I usually get back to this as the last step. Lastly we have Grain, this adds a rough texture to the image and is something I think adds to the cinematic feel of the image. This can also be overdone if you are not careful and not everyone likes the effect. I usually zoom in to the image and add grain so I just can see it and then leave it at that.
Then we’ll move on to the Detail tab and the only thing we will care about here is the Sharpening. Because I like the look of a little softer image I usually don’t sharpen anything in the image. But if you feel your image is a little too soft you can increase this and hopefully regain some sharpness.
The last tab, Optics, we’ll just skip.
As you can see above the difference between before and after isn’t that big and this is because we made most of the work before, when we took the image. In most of my images I only use the crop, adjust the exposure, add grain and a bit of vignette and perhaps adjust a few colours.
Fake it till you make it
As mentioned before the camera in your phone can not create the type of depth of field that a “proper” camera can. Depth of field is important to create separation from your subject and the background and foreground. As you can see in the images above the tree line is just as sharp as the vikings in front of it and we’ll try to change that by using another app - After Focus.
Start by pressing “Select Photo” within the app and choose your image. The first step is something called “smart selection” and I couldn’t get this to work properly (which might say more about me than the app) so I just press the arrow in the top right corner to move on to the next step. Press “Fading BG” in the bottom menu and chose “Manual”. A red and a black line will appear on your image, the red is where your focus will be and the black is where the blur will begin. If you press and hold on the red line you can reposition this, I placed mine right above the battle line. If you press and hold the black line you can move this closer or further away from the red line and thus decreasing or increasing your focus area.

This effect obviously has some limitations. As you can see the flag and a few of the spears are blurred, something they wouldn’t be with a proper depth of field. But for a cheap app I think this works great.
As a bonus, if you press “Blur” in the bottom you can select “Motion Blur” which gave an effect that I really liked.
Activating the Motion Blur in After Focus makes the scene look a lot more chaotic.
Maybe a bit over the top but with the right subject it would look great.
Anyway, here is my final image.

The final image after editing
To export your photo press the box with an arrow pointing upwards in the top menu. The easiest is then to choose “Save copy to device” which at least on my Iphone saves the image to you photos. You can also choose to “Export as” which gives you a few more options such as dimensions and image quality.
I’m quite happy with this image. Was it as easy to take as with my camera and lighting setup? No. Was it as easy to edit on my phone as on my computer? No. Is it as good or better than my other photos? If you look at some of my earlier photos I’d say so, yes.
Back then I had a pretty expensive camera and fancy lights so what’s the difference? I’d say composition, knowing where to place your miniatures and terrain to get the most out of them is really important. And you don’t need a fancy camera to do that.
If you have any questions please leave a comment below and I’ll try to answer as best I can. And in the final part of this series I’ll go through some tips and tricks that might be useful (or at least fun to try out).
Need to start over?

Part 1: What you need
You do need a few things to start taking photos - but we’ll keep it to a minimum.

Part 2: Taking the photo
Now we will go through some basic theory, how to set up your shot and build your scene.